
Blogs
In this article
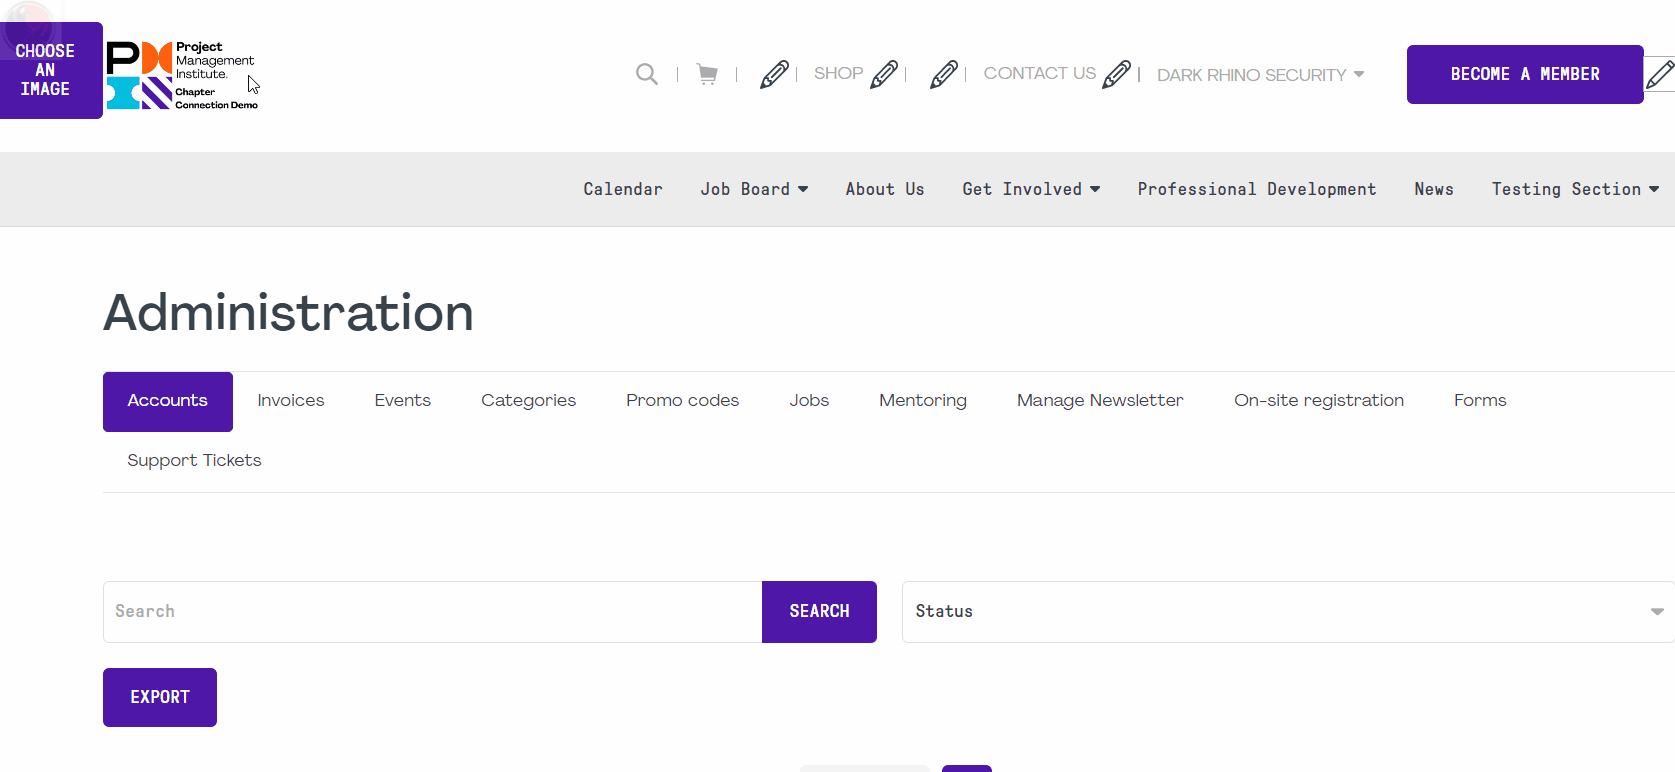
The Blog lets you create and publish articles and news on your website. You can also click here to view the training video on how to use the blog.
- To create a new blog post, click on the DRS logo, choose "Blog" from the menu and click on "New Post".
- Fill out the new post form that you will see appear on screen:
- Title: Title of your aritcle.
- Author: Author of the article.
- Image associated with the article: This will be the blog preview image used in various blog components and preview on the website.
- Article Language: Choose the language of the article (this is useful for websites that are in multiple languages).
- Publish article: You can choose to publish the article immediately.
- Choose your categories: You can refer to the categories below to know more about them.
- Tags: This is used for providing information to the search engines.
- Post time: Set the date and time of the post.
- Publish this article automatically: This will make the article automatically published on the date and time that you choose.
- Post expire time: Set a date and time at which to move the article to another category or to unpublish it.
- Post expire move to category: Choose a category to move your article to when the above "post expire time" date and time is met.
- Introduction paragraph: Short introduction of your article, this is used for the preview snippets on various components on the website.
- Article content: The content of your aticle.
- Create friendly URL: Lets you create the URL, otherwise one will be automatically created for you.
- To manage your blog posts, click on the DRS logo, choose "Blog" from the menu and click on "Manage".
- From there you can:
- Delete a blog post with this button:

- Edit a blog post with this button:

- Publish or unpublish a post with this button:

- To create a new blog category or to manage existing blog categories, click on the DRS logo, choose "Blog" from the menu and click on "Categories".
- A window will appear:
- To create a category, enter its name and press "Save"
- You can edit a category with this icon:
- You can move your categories with the drag and drop functionality by clicking and holding
 while you move your mouse to move the category up and down.
 - You can delete categories with this button:


